

If you've ever wondered why some press-on sets stay put for weeks while others start lifting after a day, the difference almost always comes down to prep, application, and aftercare. Here's how to get salon-quality results — and make your set last as long as possible.
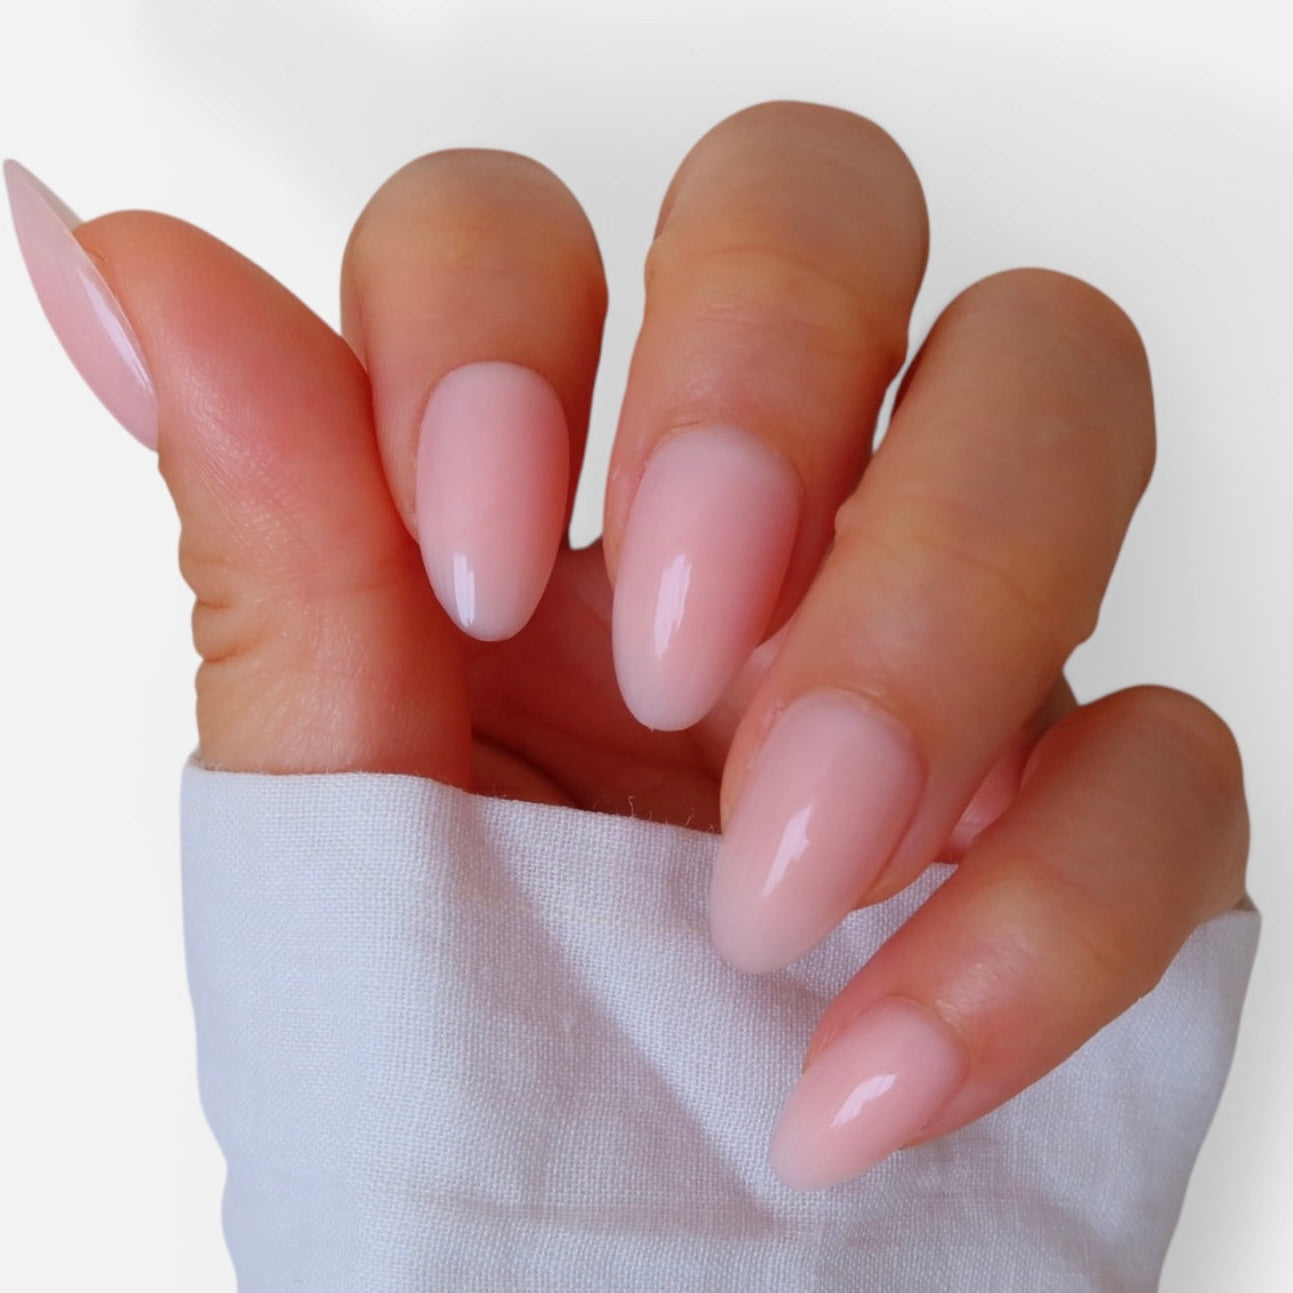
Our Daydreams set in a soft bubble bath nude — a great example of how a well-applied press-on set looks fresh for weeks with the right care.
1. Prep Is Everything
Before you apply anything, push back your cuticles, gently buff the surface of your natural nail, and wipe each nail down with the alcohol pad included in your kit. Skipping this step is the number one reason press-ons lift early — any leftover oil or moisture on the nail bed will stop the adhesive from bonding properly.
2. Size Before You Glue
Lay out your press-ons against your natural nails and match each one to the best-fitting size before you start gluing. Rushing this step means you might end up forcing a nail that's slightly too big or small, which puts uneven pressure on the bond and increases the chance of popping off.
If you're between sizes, our nail glue and remover duo makes it easy to reposition cleanly if you need a second attempt.
3. Apply at the Right Angle — and Hold It
Apply glue to both the press-on and your natural nail, then place the press-on at a 45-degree angle near your cuticle before pressing down and rolling it flat. Hold firm pressure for a full 60 seconds. This step matters more than people expect — the bond needs that time under pressure to set properly.
4. Avoid Water and Heat for the First Hour
Try to avoid washing dishes, taking a hot shower, or soaking your hands for at least an hour after application. Heat and moisture can interfere with the glue while it's still curing, which is one of the most common causes of early lifting.
5. Remove the Right Way
When it's time for a change, resist the urge to pick or pry — this can damage your natural nails underneath. Instead, use an oil-based remover like our Miracle Melt Remover Serum, which gently breaks down the adhesive while nourishing your cuticles, so removal becomes part of your nail care routine rather than something that damages it.
For more on keeping your natural nails healthy between manicures, the American Academy of Dermatology has some general nail care guidance worth a read.
Frequently Asked Questions
Why do my press-on nails keep lifting at the edges?
The most common cause is incomplete prep — leftover oils or moisture on the natural nail prevent the adhesive from bonding fully. Buffing, cleaning with an alcohol pad, and ensuring nails are completely dry before application solves most lifting issues.
How long should I press down after applying a press-on nail?
Hold firm pressure for a full 60 seconds per nail. This gives the glue time to bond properly under pressure, which significantly improves how long the set lasts.
Can I shower right after applying press-on nails?
It's best to avoid water and heat exposure for at least an hour after application, since both can interfere with the glue while it's still curing.
What's the best way to remove press-on nails without damaging my natural nails?
Use an oil-based remover rather than peeling or prying. Soaking loosens the adhesive gently, protecting both your natural nails and the press-on for reuse.
Tried These Tips? We'd Love to Hear How It Went
Your experience helps other nail-lovers know what to expect — and it helps us keep improving our kits. If you've worn your Clarity Club set, we'd really appreciate a quick review.
Leave a review and get 10% off your next order — just submit your review through the link on your product page or order confirmation email, and your discount code will be on its way.
What's Next
For the full step-by-step on application, see our complete press-on application guide, or learn how to get the most reuses out of a set in best reusable press-on nails.
Browse our Best Sellers collection if you're ready for your next set, or check out the full How To Apply guide for a step-by-step video walkthrough.